Have you ever walked into an empty commercial unit and felt… nothing?
That was the starting point for this project. Just a cold shell. White walls, grey floors, exposed sockets. It felt clinical.
If you are opening a hair salon, “clinical” is the last thing you want. You want clients to walk in and immediately exhale. You want them to feel pampered, comfortable, and special.
In the traditional design world, the next step would be to get out a tape measure and start drawing black-and-white floor plans. But at AI Creative Interiors, we do things a little differently. We turn the process on its head.
We decided to ignore the maths for a moment and focus entirely on the feeling.

Step 1: The Vision Came First:
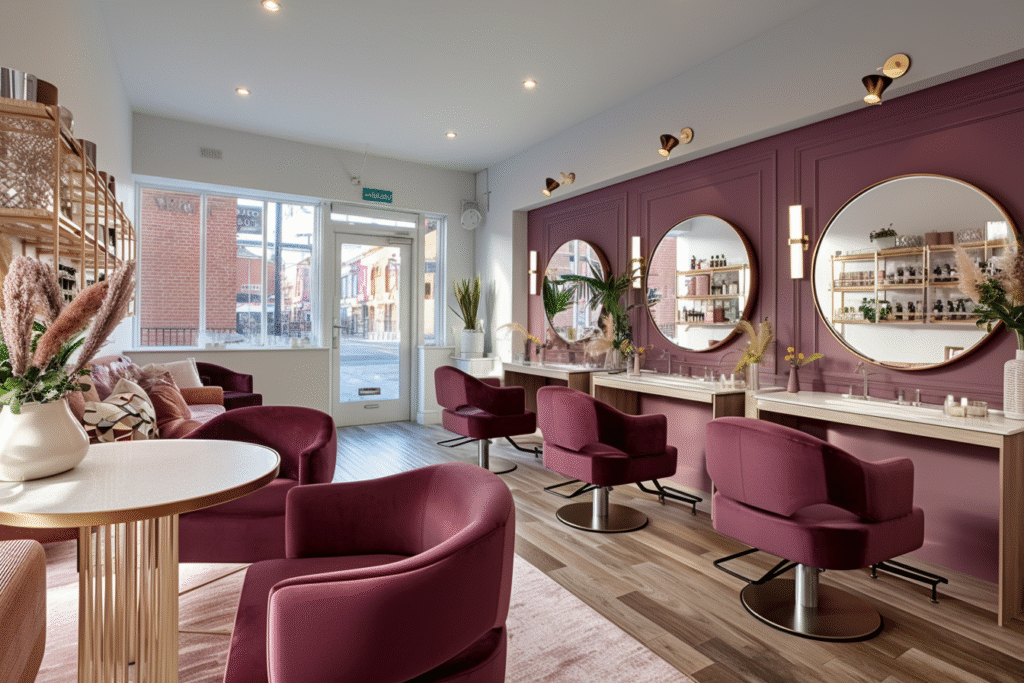
Before we drew a single line, we used our AI tools to visualise the destination.
We knew we wanted warmth. We wanted richness. So, we generated this vision of a “Deep Berry” aesthetic. We played with the idea of deep mauve walls to create a cosy, boutique atmosphere, and added brushed brass fixtures to catch the light.
This image wasn’t the result of weeks of planning. It was the spark. It allowed us to say, “Yes, THIS is the vibe,” before we even knew where the plug sockets would go.
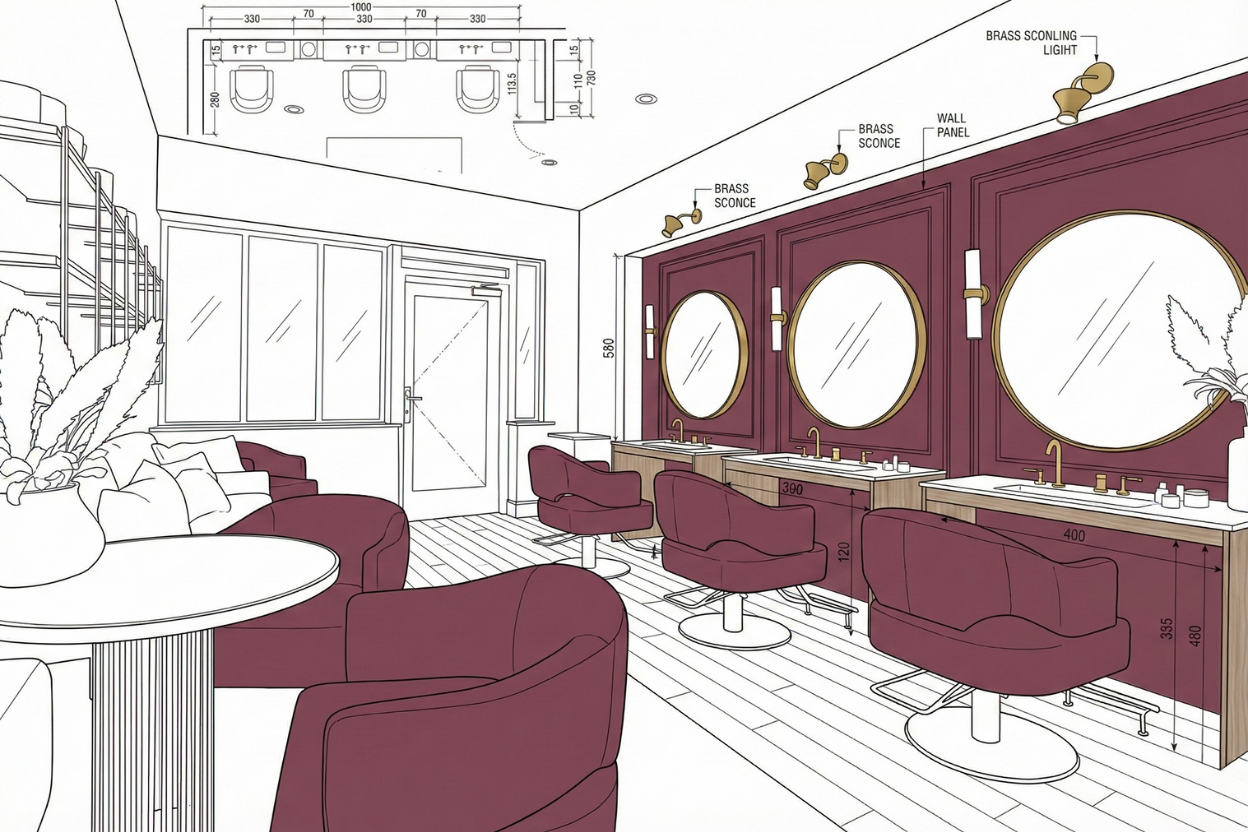
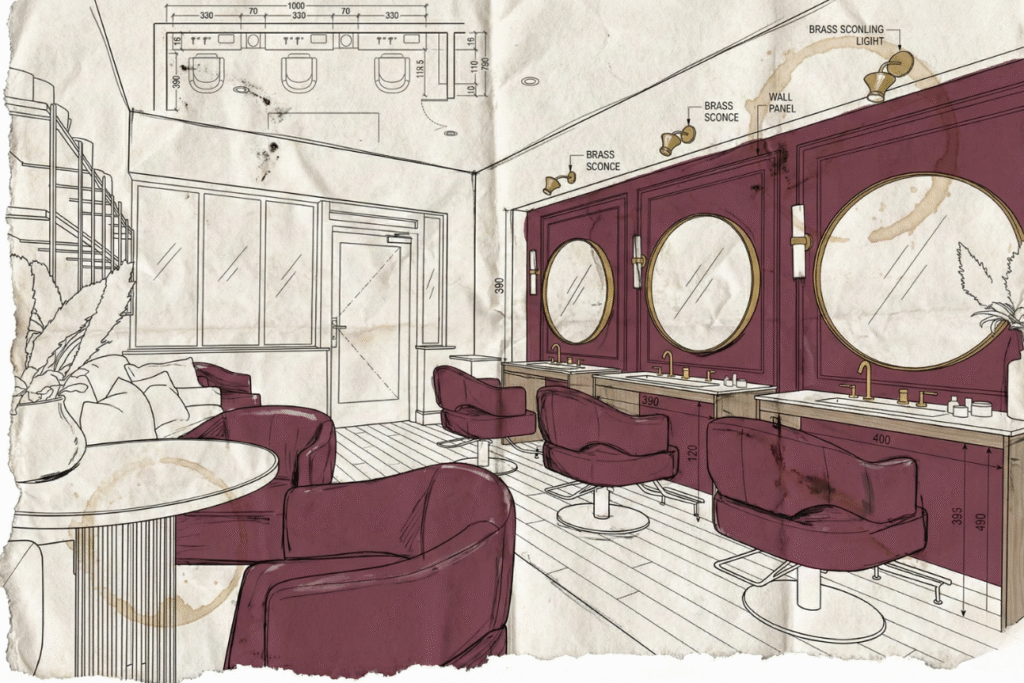
Step 2: The Reality Check (The Sketch):

Here is where we get honest about our process.
Once we had that beautiful image, we had to ask the hard question: “Does this actually work?”
It is easy to make a pretty picture, but a salon needs to function. Hairdressers need space to move around the chairs. Clients need to be able to walk to the backwash area without tripping over a coffee table.
So, we “reverse engineered” the design. We used the visual to generate these Layout Concepts.
These sketches aren’t a blueprint for the builder just yet; it is a logic check for us. It helped us test the flow. We could see that placing the styling stations along the right-hand wall gave us the best clearance, and that the round mirrors from our vision would fit perfectly in that rhythm.
We didn’t draw the plan to find the design; we drew the plan to prove the design.
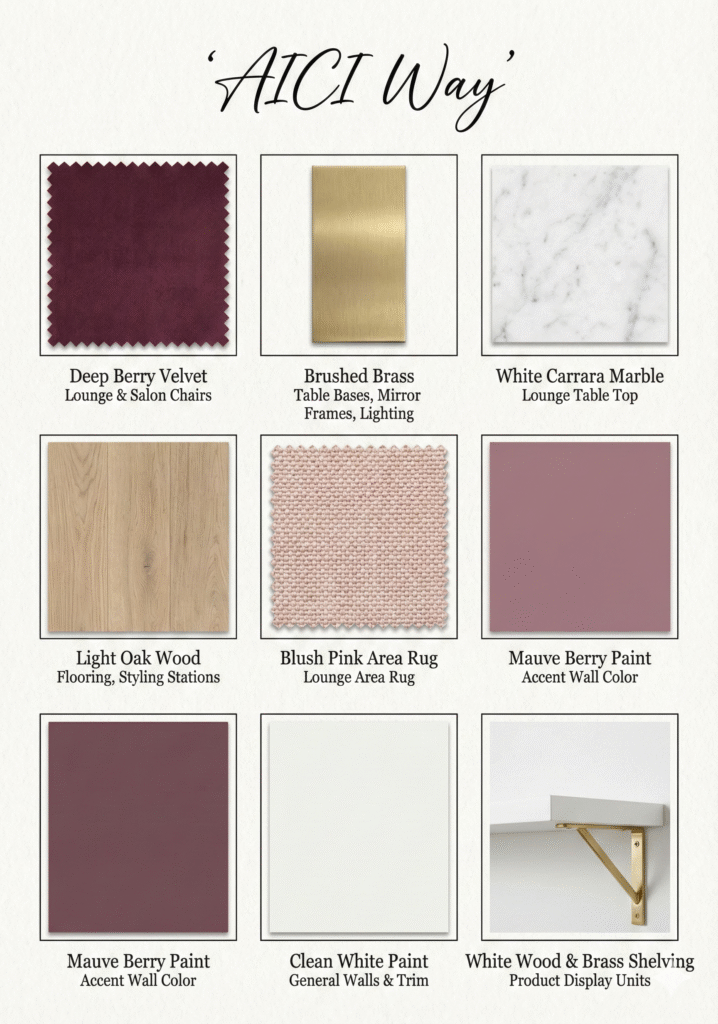
Step 3: Defining the Ingredients:
Once we knew the layout worked, we had to ground the vision in reality. A digital image can look “soft,” but how do you recreate that in a real shop fit-out?
We created this Material Board to define the specific textures.
-
The Velvet: Essential for that luxe feeling on the chairs.
-
The Wood: A light oak flooring to balance the dark walls.
-
The Brass: For the sconces and table legs.
Share This Article:
Share This Article:
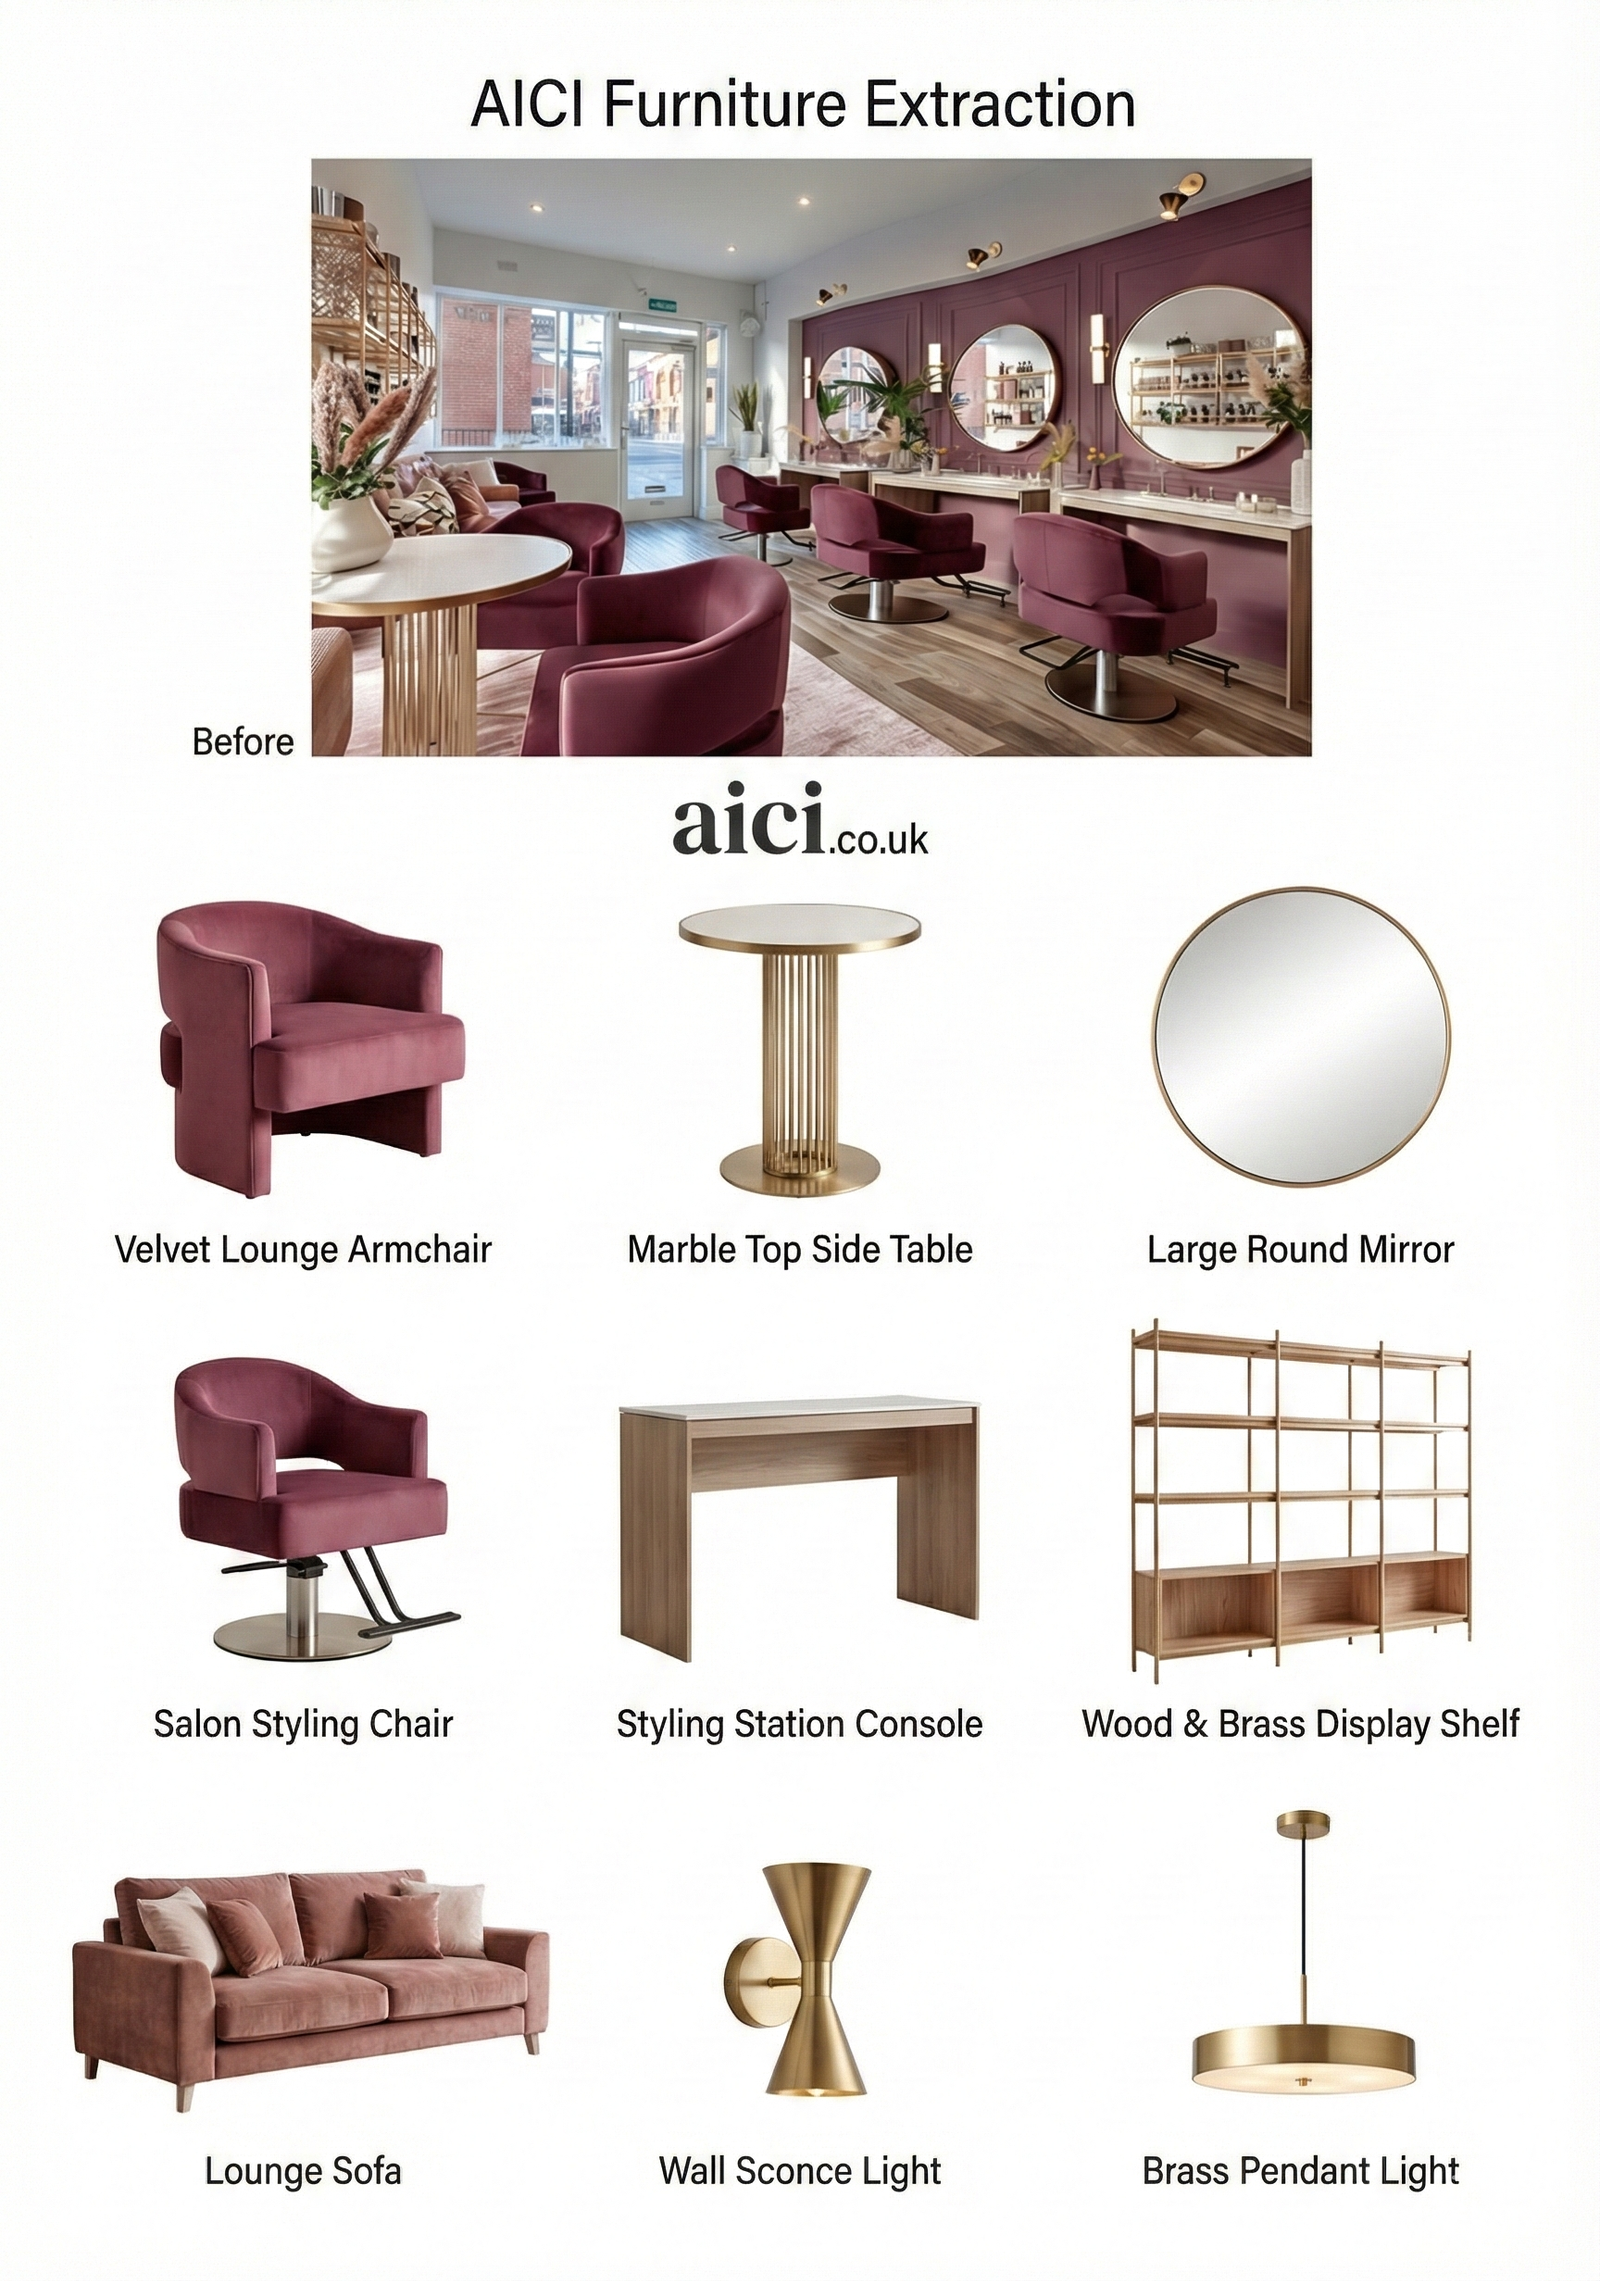
Step 4: Shopping List
And finally, we broke it down into a shopping list.
We extracted the individual items: the salon styling chair, the console table, the specific pendant light.
This moves the project from “fantasy” to “shopping list.” It gives the salon owner a clear roadmap of exactly what they need to source to bring that initial dream to life.

The New Way to Design
This “Reverse Design” method- starting with the dream and working backwards to the data—is a game-changer.
It removes the fear of the blank page. It lets you fall in love with the result instantly, and then gives you the practical steps (the layout and the list) to make it happen.
Do you have a blank space that needs a vision? Whether it’s a salon, a shop, or just a living room that feels a bit cold, send us a photo. Let’s see what the destination looks like first.
Stay updated on what’s new- follow our Facebook Page:


Modern Dinosaur Bedroom Ideas: The Ultimate Guide
Let’s be honest for a second. If you are reading this, you are probably in the middle of a "Dinosaur Dilemma." Your little one has declared - loudly and repeatedly - that they want a [...]
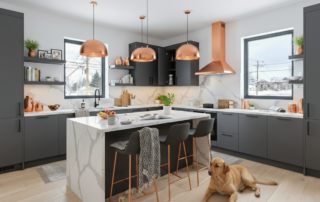
Updating a UK Dated Home: The 7-Step Kitchen Diner Recipe
Standing in a heavily dated room can instantly make you feel stuck. Take a look at the 'before' photograph below. I recently visited this really lovely UK walled front property at a critical moment. The [...]
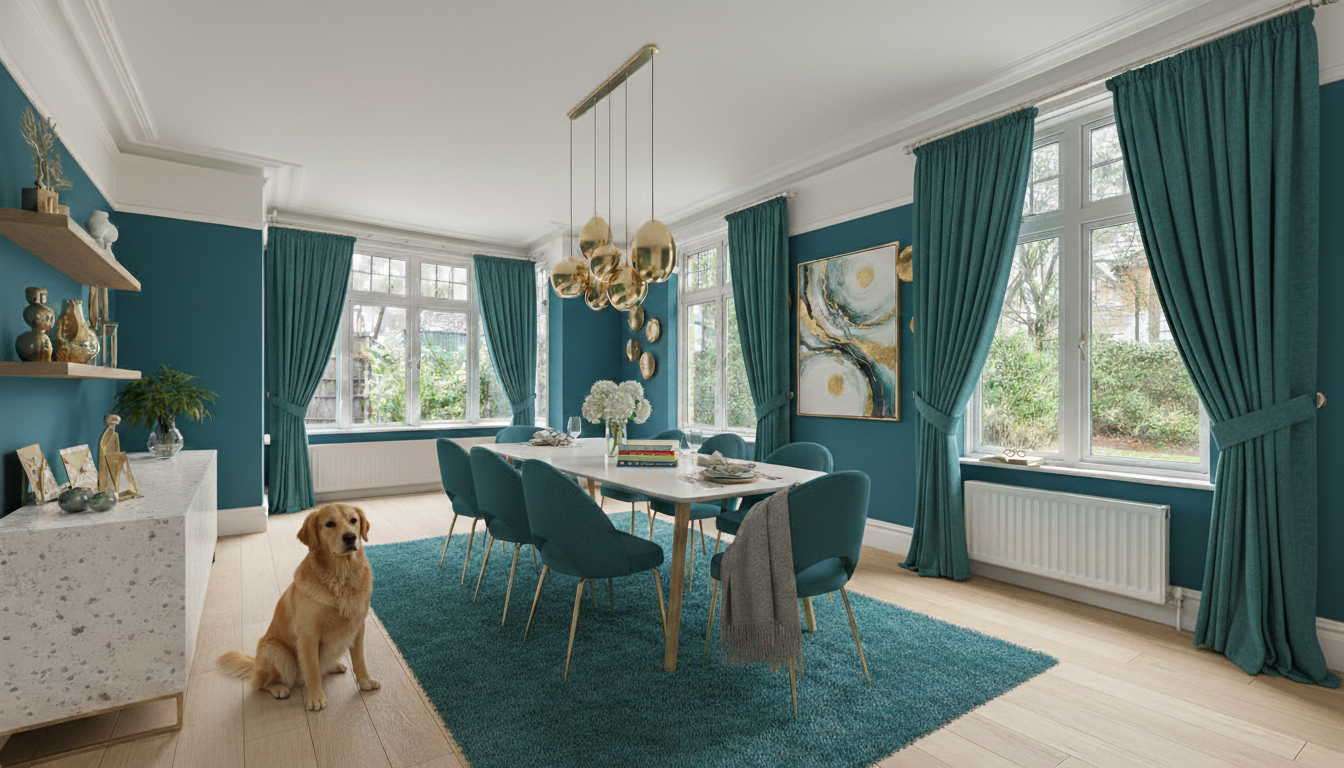
Why Sensory Virtual Staging Sells the Lifestyle in Seconds
You’re standing in a hallway with a couple, who have spent their entire Saturday morning looking at properties that lack any real character. You open the door to a room like this dining room - [...]
Why We Now Create Lived-In Videos for Homeowners and Sellers
When you look at a room that needs work, it is often hard to see past the current reality. The peeling paper, the dark corners, the clutter- it all feels a bit heavy, doesn't it? [...]