At AI Creative Interiors (AICI), we create beautiful designs for your home using your photos, AI software, and our expertise.
To create stunning and comprehensive AI designs, we need to understand the entire space you want to transform.
This means providing us with good photos that capture your room from different angles.
Why Your Photos Matter: Unlock Stunning AI Designs
Good photos are the foundation of amazing AI interior designs!
They allow our AI and expert designers to see all the details of your space accurately. The better the photos, the more realistic and tailored your AI design concepts will be.
Clear, well-lit photos help us understand the room’s dimensions, features, and existing style, allowing us to create truly polished and inspiring designs that reflect your vision.
Tips for Taking Great Photos:
Position the Camera for Comprehensive Room Views:
To give our AI a full picture of your space, take photos from strategic positions in the room:
- Corner Angle: This is crucial! Stand in opposite corners of the room and take photos facing inwards. This captures the room from multiple perspectives and helps the AI understand the room’s layout and dimensions most effectively.
- Distance: Stand 2.5 to 3.5 meters (8 to 12 feet) away from the main feature of the room (or corner).
- Height: Hold the camera at chest level (about 1.2 to 1.4 meters off the ground).
- Level Angle: Keep the camera level with the floor to ensure straight lines and avoid distortion.
Use the Wide-Angle Option & “Walk Through” Your Room:
- Wide-Angle Mode: Most smartphones have a wide-angle mode (often labelled as “0.5x” or similar). Use this mode to capture more of the room in each photo.
- “Walk Through” Mentally (or Briefly Video): Imagine walking through your room, taking photos from different corners and angles as you go. Even taking a short “walk-through video” (for your reference, not to submit) can help you visualize capturing the entire space. This ensures you don’t miss important areas and provide a comprehensive view for the AI.
Declutter the Space:
Remove items from countertops, floors, or tables. A clean room keeps the focus on your space.
Balance the Lighting – Aim for Bright and Even Light
- Best Time: Take photos during daytime hours, ideally mid-morning or mid-afternoon, when natural light is usually best.
- Natural Light: Open curtains or blinds wide to maximize natural light.
- Room Lights: Turn on all room lights, including overhead lights, lamps, and accent lighting (like under-cabinet LEDs) to brighten the space.
- Avoid Strong Shadows: Try to avoid times of day when strong, harsh shadows are cast across the room.
- No Flash: Don’t use the camera flash, as it can create glare, harsh reflections, and uneven lighting. Aim for bright, even lighting across the entire room in your photos.
Compose Thoughtfully for a Natural Room View
- Eye Level Focus: Take photos from a natural “eye-level” perspective (chest height). Avoid shooting from very high or very low angles, as this can distort the room’s appearance.
- Centre the Room in the Frame: Position yourself and the camera to center the room within the photo frame, capturing the main area and key features.
- Show Room Context: Include enough of the room to show how furniture and features relate to each other and the overall space, without overcrowding the photo.
Keep the Camera Steady – Avoid Blur
- Tripod/Stable Surface: Use a tripod if available, or place your phone on a stable surface like a table or shelf.
- Elbows In: If holding your phone, keep your elbows close to your body for stability.
- Hold Your Breath: Just before taking the photo, take a breath and hold it briefly to minimize any hand movement. This simple technique can significantly reduce blur.
Examples: What Works and What Doesn’t
Good Example:
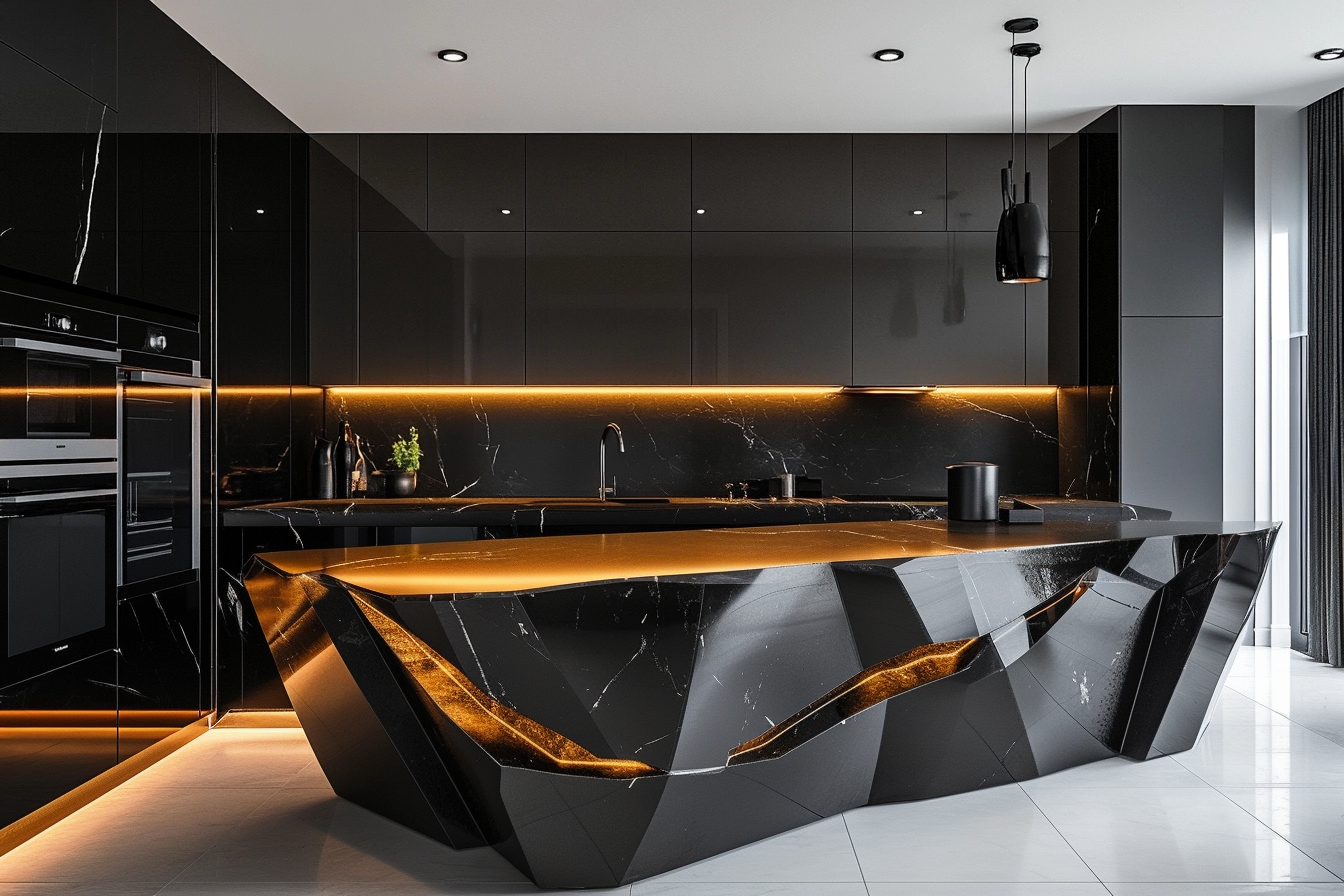
Move the slider on the images below to see our before-and-after. Here we have a well-lit photo of a luxury kitchen where we’re adding a kitchen island:
The photo was taken at eye level, with the kitchen in the centre of the frame.
Clean and clutter-free countertops.
Bright, even lighting that highlights the island’s finish and surrounding details.
Result: This type of photo makes it easy for us to create designs that look polished and realistic.


What to Avoid: Common Photo Issues that Hinder AI Design Quality
- Too Far Away/Zoomed Out: Shot from too far away, the main features are small and lack detail, making it difficult for the AI to accurately understand the space and proportions.
- Cluttered Countertops/Distractions: Cluttered countertops and furniture distract the AI and make it harder to focus on the room’s core structure and style for design implementation.
- Dim/Uneven Lighting: Dim lighting hides details and casts shadows, making it challenging for the AI to accurately interpret room features, colours, and textures.
- Result: While our AI can still work with photos like these, the designs may be less detailed, less accurate in terms of scale and proportions, and may not feel as sharp or professional as designs created from high-quality photos.
By following this guide, you can take clear and simple photos of your home that will unlock truly stunning AI design results you’ll love!
At AI Creative Interiors, we’re excited to use your photos to create designs that perfectly match your style and needs.
Whether it’s a bold new kitchen island or a full room makeover, we’re here to help you bring your vision to life with AI-powered interior design.
Ready to transform your space? Explore our AI Interior Design Packages and get started today!
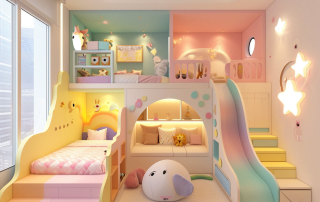
AI-Designed Children’s Bedroom
Client's Vision: Our client approached us with a dream to create a children's bedroom that would serve as a canvas for imagination, play, and growth. They were seeking a design that was both whimsical and functional, suitable for a child's evolving needs. Room Specifications: Dimensions: Length: 14 feet, Width: 10 feet, Height: 9 feet Style: Whimsical and Functional Color [...]
Leave A Comment